Start here

How to start investing

A step-by-step walkthrough of opening your first investment account and buying your first fund. No jargon, no assumptions about what you already know, and nothing you need to buy to follow along.

About 15 minutes to read, about 30 minutes to do

Before you begin

Nothing in this guide requires a finance background, a large amount of money, or perfect English. Every step tells you exactly what you will see on the screen and what the words mean. You can stop after any step and come back later — nothing breaks if you take a week between them.

What's in this guide

  1. 1.Make sure you're ready to invest
  2. 2.Pick the right kind of account
  3. 3.Choose a provider
  4. 4.Gather what you'll need
  5. 5.Open the account
  6. 6.Link your bank account
  7. 7.Move money in
  8. 8.Important: your money is not invested yet
  9. 9.Choose what to invest in
  10. 10.Buy your first investment
  11. 11.Set up automatic contributions
  12. 12.Turn on dividend reinvestment
  13. 13.Maintain it over the long term

Step 1

Make sure you're ready to invest

Investing works best when you can leave the money alone for years. Before you put in the first dollar, three things should be true.

  • 1You have income you can count on, even if it is modest.
  • 2You have a cushion of cash for emergencies — one month of expenses to start, three to six months over time. This is the money that keeps a car repair from becoming credit card debt.
  • 3You are not carrying high-interest debt, meaning anything above roughly 8%: credit cards, payday loans, some personal loans. Paying off a card charging 24% is a guaranteed 24% return. No investment can promise that.

One exception: if your employer matches contributions to a 401(k), contribute enough to get the full match even while you are paying down debt. A match is an immediate 50-100% return, and it disappears if you skip it.

Step 2

Pick the right kind of account

This is the step that confuses people most, so here it is plainly: the account is the container, and your investments go inside it. Choosing an account is not the same as choosing what to invest in — that comes later, in Step 9. Different containers follow different tax rules.

A simple order that works for most people: contribute enough to your 401(k) to get the full employer match, then fill a Roth IRA, then go back and add more to the 401(k), then use a regular brokerage account for anything beyond that.

AccountBest forHow the taxes work
401(k) or 403(b)Anyone whose employer offers one, especially with a matchMoney goes in before tax, grows untaxed, and you pay income tax when you withdraw it in retirement.
Traditional IRANo workplace plan, or you want to save beyond itSame tax treatment as a 401(k), but you open it yourself at a provider of your choosing.
Roth IRAPeople who expect to earn more later than they do now — most people early in a careerYou pay tax on the money now. Growth and withdrawals in retirement are tax-free.
Taxable brokerageGoals before retirement, or savings beyond the accounts aboveNo special tax break, but no age restrictions either. You can withdraw any time, for anything.

Retirement accounts have yearly contribution limits and income rules, and both change every year. Search "IRA contribution limit" on irs.gov for the current numbers before deciding how much to put in.

Step 3

Choose a provider

A provider — also called a broker or brokerage firm — is the company that holds your account. Vanguard, Fidelity, and Charles Schwab are the three most commonly recommended for beginners: large, long-established, and free to open and maintain a standard account.

You are not committing for life. Accounts can be moved to another provider later, and the new one will do the paperwork for you.

  • No account fees, and no commission on stock and ETF trades. This is standard now — if a provider charges these, look elsewhere.
  • Low expense ratios on their own funds. An expense ratio is the yearly fee a fund charges, shown as a percentage. Under 0.10% is excellent; above 0.50% is expensive.
  • SIPC membership, which protects your account up to $500,000 if the brokerage itself fails. Every legitimate US brokerage has it.
  • A website, app, and phone support in a language you are comfortable using.

Be careful with apps built around trading, streaks, confetti, and price alerts. They earn money when you buy and sell often, which is the opposite of what works. If an app feels like a game, it was not built for the strategy in this guide.

Step 4

Gather what you'll need

Opening an account is a legal process, so the provider has to verify who you are. Have these ready before you start and the whole thing takes about fifteen minutes.

  • Your Social Security Number, or your ITIN if you have one instead.
  • A government-issued photo ID: driver's license, state ID, or passport.
  • Your current home address — a PO box usually is not accepted — plus your phone number and email.
  • Your employer's name and address, or your employment status if you are not working.
  • Your bank's routing number and account number. Both are printed along the bottom of a check, and both appear in your bank's app under account details.
  • Your date of birth, and your citizenship or visa status.

You do not need to be a US citizen to open a brokerage account. Permanent residents and many visa holders can open one with an SSN or ITIN. Requirements vary between providers, so if one turns you down, another may not.

Step 5

Open the account

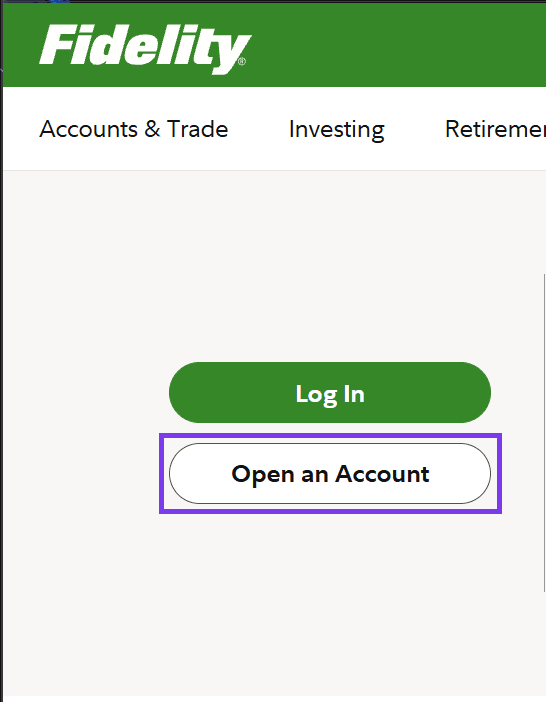
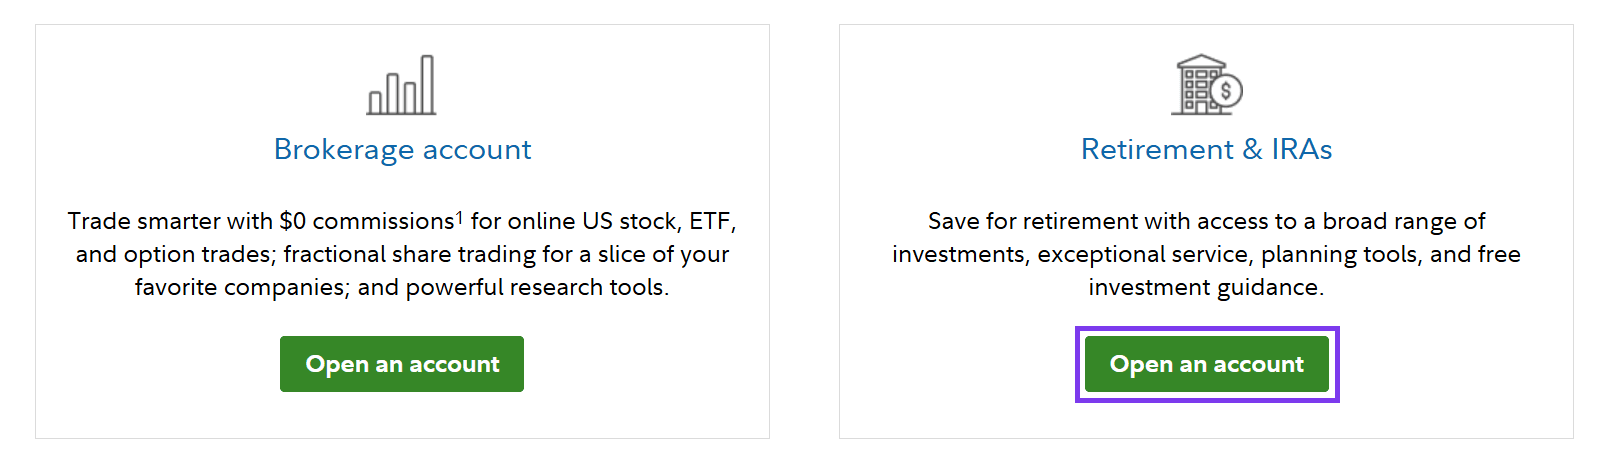
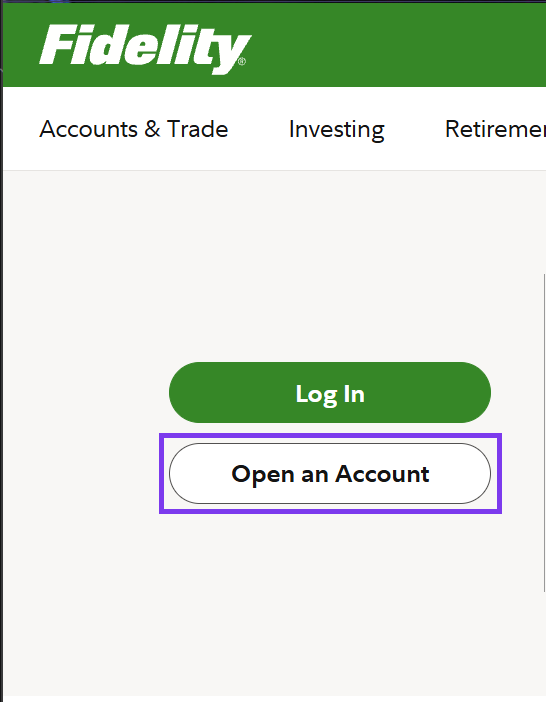
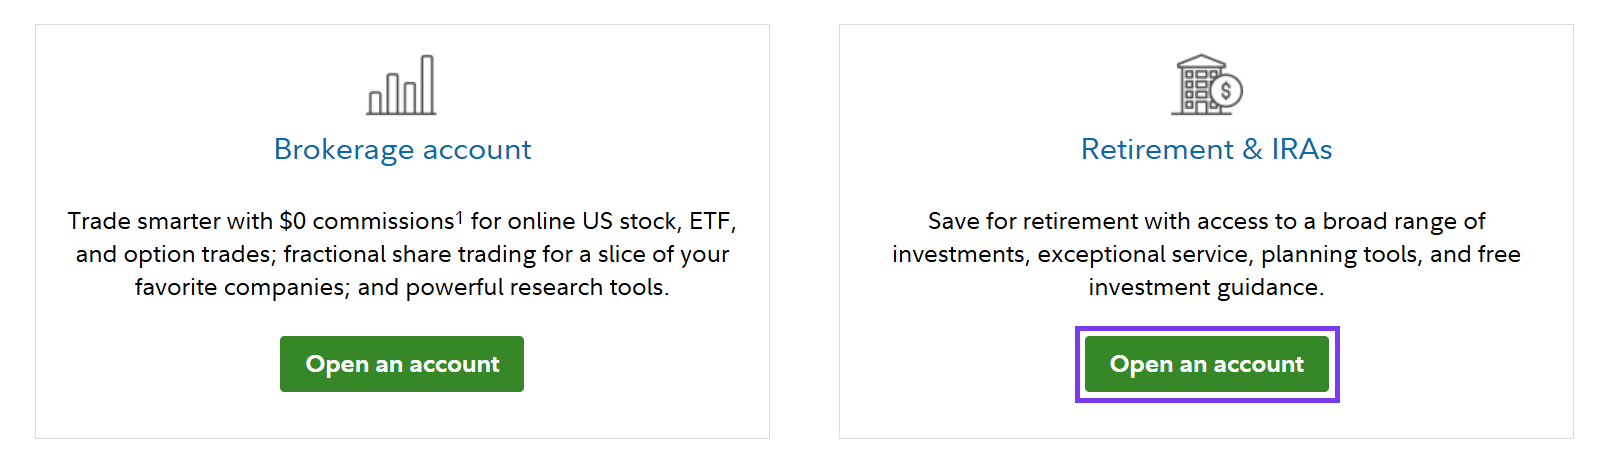
Go to the provider's website by typing the address yourself rather than clicking a link in an email or an advertisement. Look for a button that says "Open an account."

Approval is usually instant. Occasionally a provider asks for a photo of your ID, which can add one to three business days.

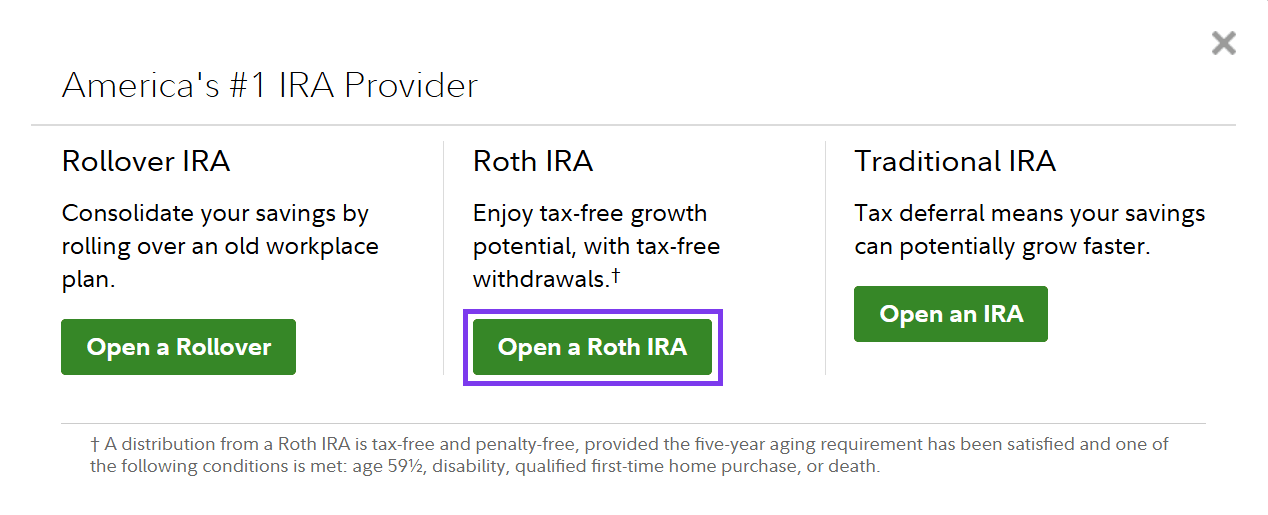
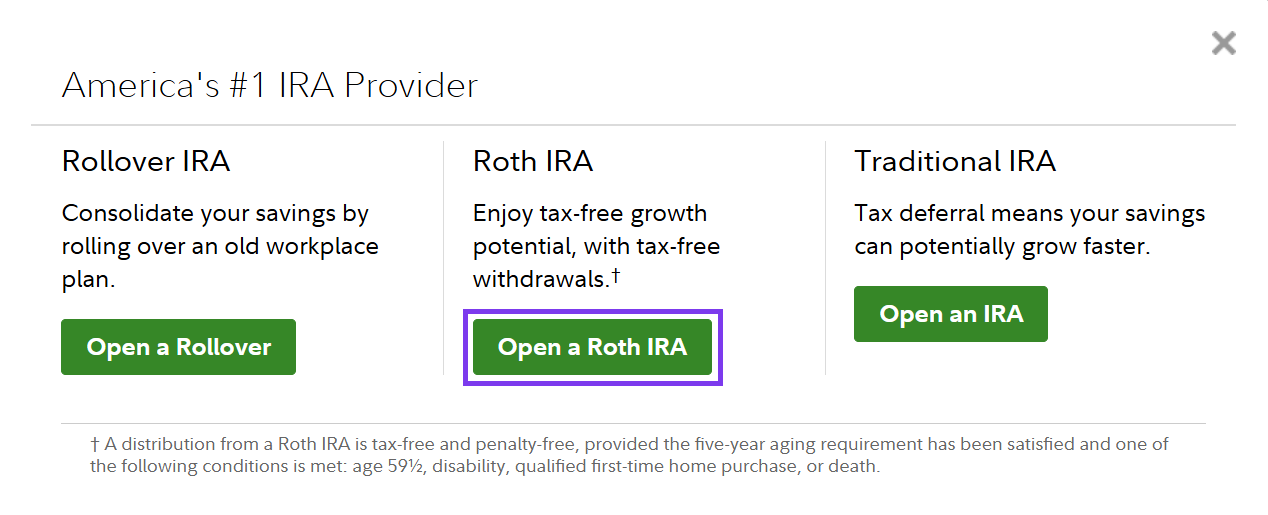
  • 1Choose the account type you settled on in Step 2. If you are asked between "individual" and "joint", individual means the account is yours alone.
  • 2Enter your personal details exactly as they appear on your ID. A missing middle initial is one of the most common reasons an application gets held up.
  • 3Answer the questions about employment, income, and investing experience honestly. They are required by regulators, not a test. Answering "none" or "limited" for experience changes nothing about what you are allowed to buy.
  • 4Name a beneficiary — the person who inherits the account if you die. It takes thirty seconds and saves your family months of court process. You can change it whenever you want.
  • 5Read the agreements, accept them, and submit.

Turn on two-factor authentication as soon as the account opens, and save your login somewhere you will genuinely find it again. This account may hold decades of your savings.

Step 6

Link your bank account

Linking your bank is what lets you move money in and out. There are two ways, and both are safe.

  • Instant verification: you pick your bank from a list and sign in to it through a secure window. Fastest, and it works immediately.
  • Micro-deposits: you type in your routing and account numbers, and the provider sends two tiny deposits — a few cents each — to your bank within one to three business days. You come back and enter those amounts to confirm. Use this if your bank is not on the list.

Your brokerage will never call, text, or email you asking for your password or a verification code. If someone does, it is a scam, however official it looks. Hang up, then call the number printed on the provider's own website.

Step 7

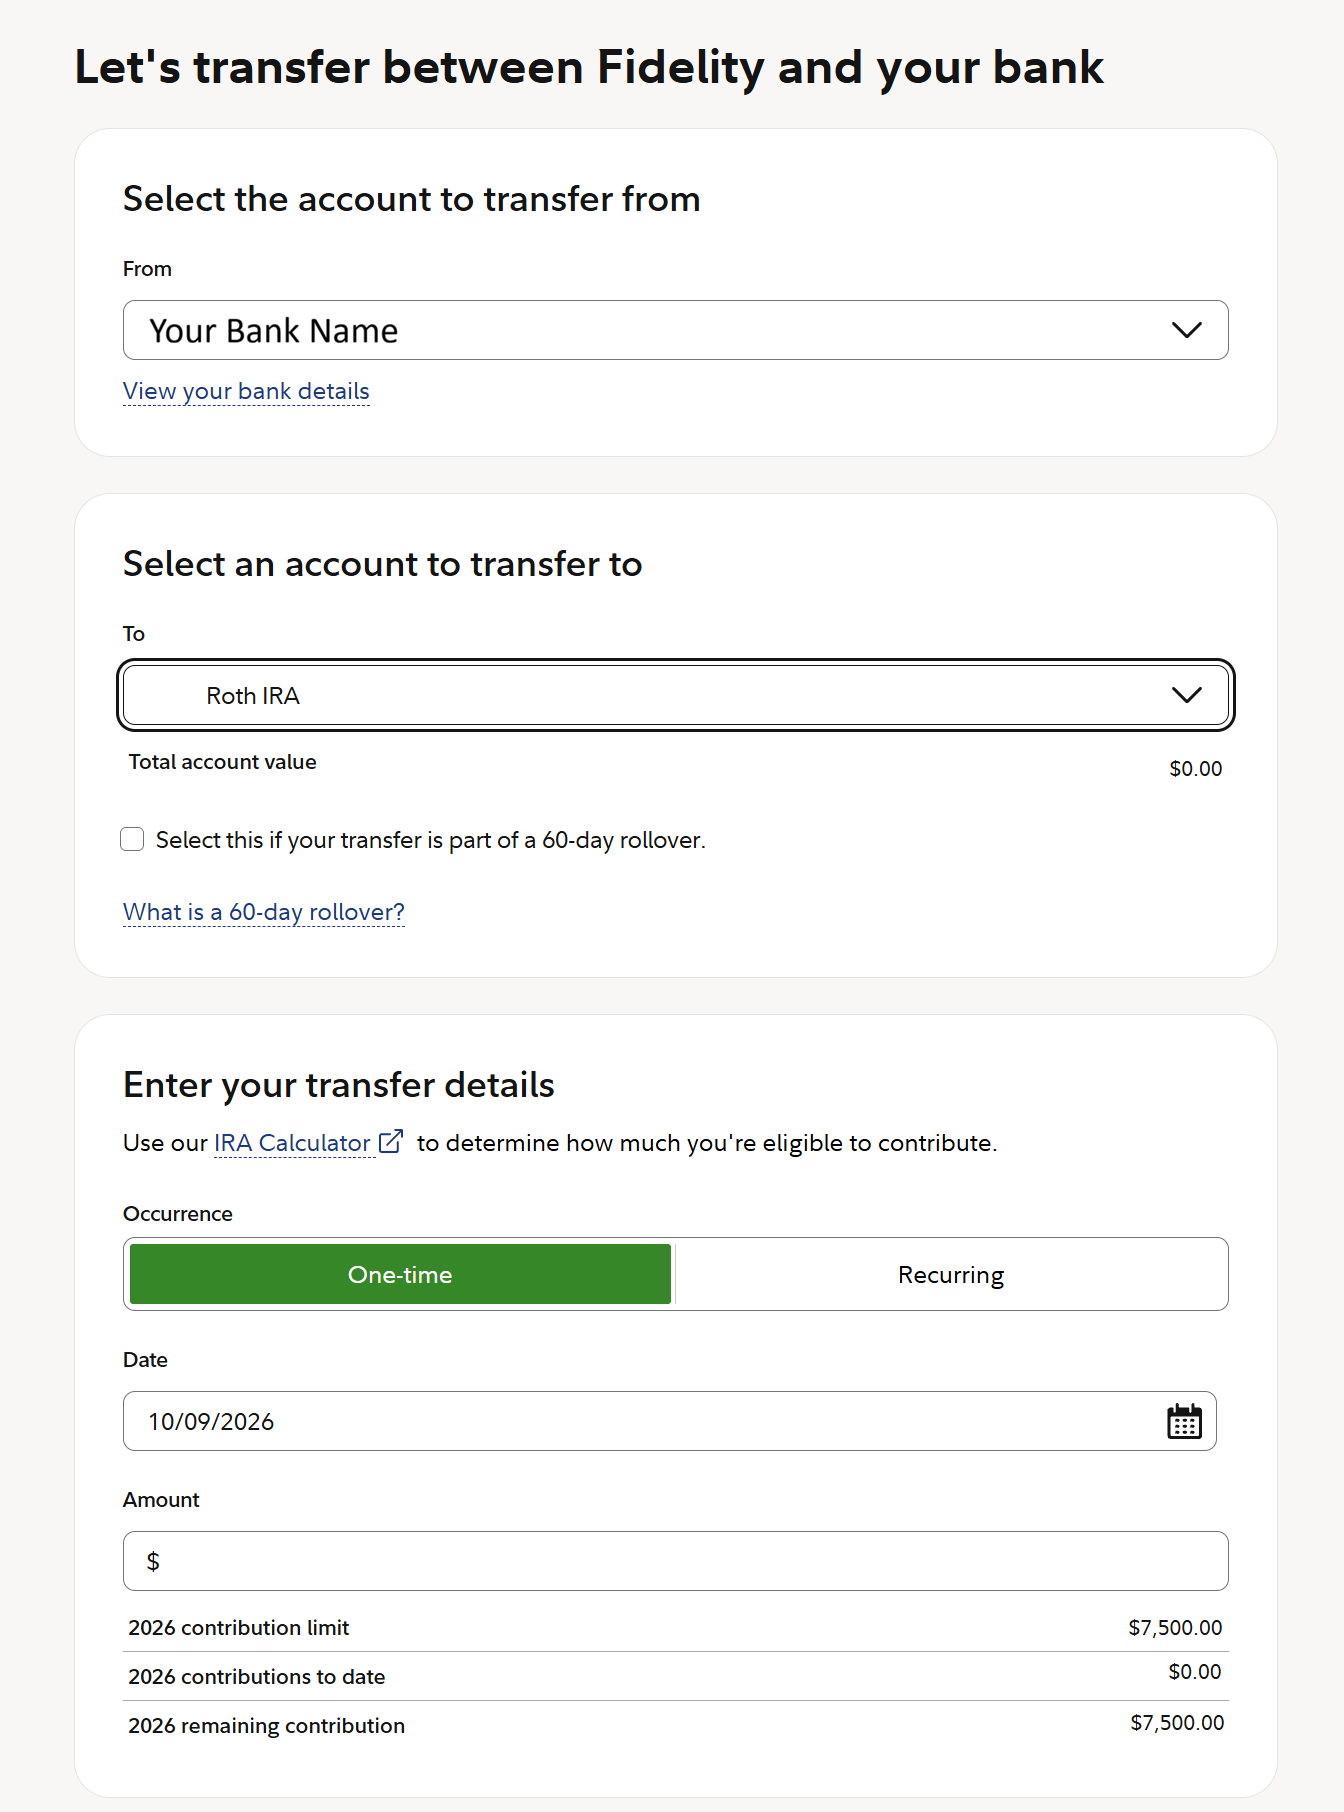
Move money in

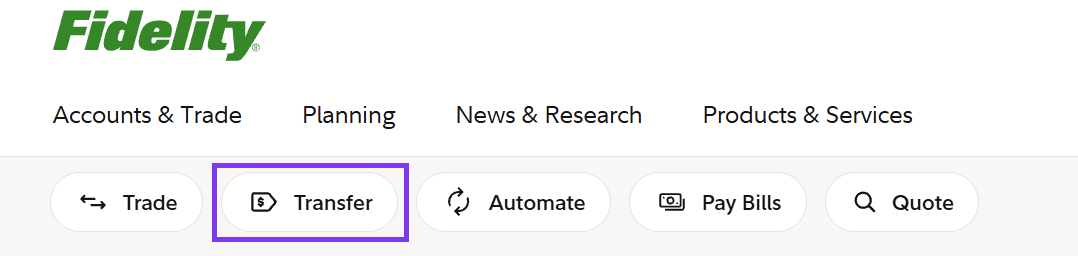
Transfer money from your bank into your new account. The button is usually labelled "Transfer", "Deposit", or "Move money".

The first transfer normally takes one to three business days to settle. Later ones are often faster.

Start with an amount you would not miss if you could not touch it for five years. There is no minimum that makes this real — $25 that you keep adding to beats $2,000 once.

Step 8

Important: your money is not invested yet

This is the most common and most expensive mistake beginners make, so please read it twice.

When your transfer arrives, the money sits in the account as cash. It is not invested. It is not growing. People deposit money, see a balance on the screen, and assume they are finished — then find out years later that it has been sitting still the whole time, quietly losing value to inflation.

Your account balance and your invested amount are two different numbers. Until you place a buy order in Step 10, you own nothing but cash.

Providers show this money as a "settlement fund", a "core position", or "cash available to invest". That last phrase is the clearest one: available to invest means not yet invested.

If you remember one thing from this guide, remember this: depositing money is not investing it. You have to buy something.

Step 9

Choose what to invest in

Now you decide what to buy. For a long-term investor starting out, this whole decision can be a single broadly diversified, low-cost fund. That is not a beginner's compromise — it is what the evidence points to for nearly everyone.

If you want the shortest possible answer: a target-date fund inside a retirement account, or a total US stock market index fund. Both are ordinary, boring, and widely recommended.

TypeWhat it isGood to know
Index fundA fund that owns a slice of every company in a market, such as the entire US stock marketThe simplest, lowest-cost option. One total-market index fund is a complete portfolio for many people.
ETFAn index fund that trades like a stock while the market is openNearly identical in what it holds. Easier to buy with small amounts, because you can often buy a fraction of a share.
Mutual fundA pooled fund priced once a day, after the market closesIndex mutual funds are excellent. Actively managed ones charge far more and rarely beat the index over time.
Target-date fundOne fund holding both stocks and bonds, shifting toward safer holdings as your retirement year approachesThe most hands-off choice. Pick the one nearest the year you turn 65 — "Target Retirement 2060", for instance — and you are done.

Check the expense ratio before you buy. Under 0.10% a year is excellent. On $10,000 that is $10 a year instead of the $50-100 an expensive fund charges — and that gap compounds for decades.

Step 10

Buy your first investment

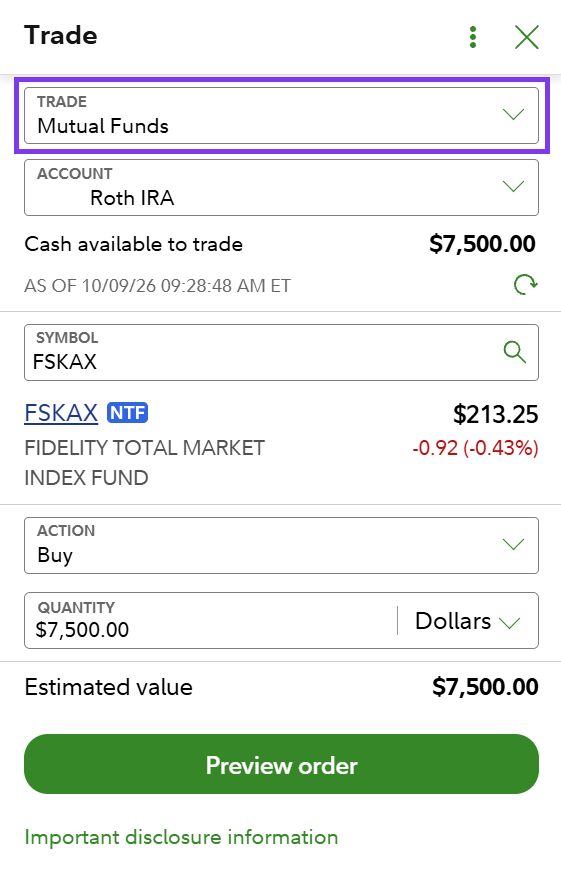
ETFs fill within seconds while the market is open — 9:30am to 4:00pm Eastern on weekdays. Mutual funds fill once, after the market closes, so your order may sit as "pending" for a few hours. Neither is a problem.

Once it goes through, your balance will move up and down a little every day. That is what invested money looks like. It is working.

  • 1Find the fund's ticker symbol — a short code such as VTI or FXAIX. Search the provider's site for the fund by name and the symbol will be listed beside it.
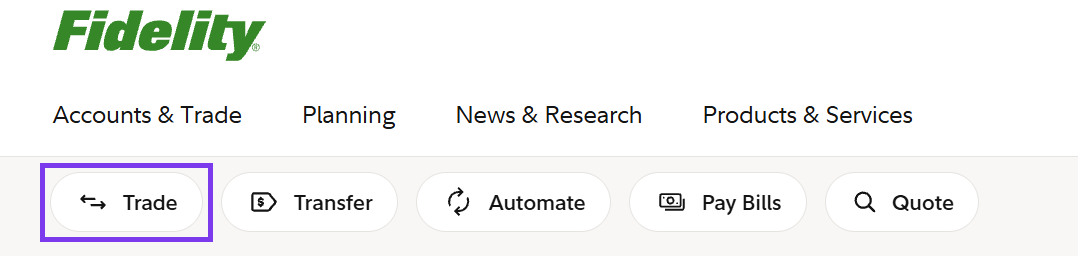
  • 2Choose "Buy" or "Trade".
  • 3Enter the amount. Most providers now let you buy by dollar amount instead of number of shares, which is easier: type $100 and you get $100 worth.
  • 4For order type, choose "Market". That means buy at the current price. "Limit" orders are for people trying to hit a specific price, which is not what you are doing.
  • 5Review the order and confirm it.

Step 11

Set up automatic contributions

This step does more for your long-term result than any fund choice. Set up an automatic transfer that moves money from your bank on every payday, and an automatic investment that buys your fund with it.

Look for "Automatic investments", "Recurring investment", or "Auto-invest" in the account settings. Setting up only the transfer leaves you back in Step 8, with cash sitting uninvested. Set up both, or confirm that your provider's automatic investment covers both halves.

  • Pick an amount you could sustain in a bad month, not a good one. You can raise it whenever you want — and should, whenever you get a raise.
  • Match the schedule to your paydays, so the money leaves before you have planned around it.
  • Buying on a fixed schedule regardless of price is called dollar-cost averaging. You end up buying more shares when prices are low and fewer when they are high, without having to predict anything.

Automating removes the hardest part of investing, which is deciding to do it again next month.

Step 12

Turn on dividend reinvestment

Many funds pay dividends — your share of the profits the underlying companies hand out — usually every three months. By default, some providers drop that into your account as cash, which puts you back in Step 8 with a small amount of money doing nothing.

Find the setting called "Dividend reinvestment" or "DRIP" and set it to reinvest. Every dividend then automatically buys more of the same fund, and those new shares earn dividends of their own. That is compounding, running without you.

It is one checkbox, it costs nothing, and across long periods reinvested dividends have accounted for a large share of total stock market returns.

Step 13

Maintain it over the long term

The rest of the job is mostly not doing things. A workable routine is about an hour a year.

Markets will fall. Somewhere in the coming decades your balance will drop 20%, 30%, perhaps more, and the news will make it sound final. Historically every one of those declines has been temporary for people who kept contributing and did not sell. The plan is not to dodge the drops — it is to still be invested when they recover.

  • Check in once or twice a year. Daily checking turns ordinary dips into emergencies and tempts you to sell at the worst possible moment.
  • Raise your automatic contribution whenever your income rises. You never miss money you never started spending.
  • Rebalance once a year if you hold more than one fund: sell a little of what grew and buy what lagged, to return to your intended mix. A target-date fund does this for you.
  • Update your beneficiary after a marriage, a divorce, a birth, or a death.
  • When you change jobs, move your old 401(k) into an IRA or your new employer's plan so it is not forgotten. Ask for a "direct rollover" so the money never passes through your hands and no tax is withheld.

If you feel the urge to do something dramatic when the market falls, the something is: keep your automatic contributions running. That is the whole move.

Words you'll see

Financial websites use these constantly and rarely explain them. None of them are complicated once written out plainly.

Broker / brokerage
The company that holds your investment account.
Ticker symbol
The short code identifying a fund or company, such as VTI.
Expense ratio
The yearly fee a fund charges, shown as a percentage of the amount you have invested.
Share
One unit of a fund or company. Many providers now let you buy a fraction of one.
Dividend
A payment of profits to the people who own a fund or a company's stock.
Portfolio
Everything you own across your investment accounts, taken together.
Diversification
Spreading money across many companies so that no single one can sink you.
Correction / bear market
The words the news uses for a market decline. Both are ordinary and, historically, temporary.
Vesting
The time you must stay at a job before your employer's 401(k) match is fully yours to keep.
Rollover
Moving a retirement account from one provider to another without triggering taxes.

That's the whole process

Thirteen steps, and after the first month, eleven of them never need doing again. The part that builds real wealth is the boring part: money going in automatically, month after month, while you get on with your life.

This guide is general education, not personal financial advice. Lilikoi Finances is not a licensed financial advisor, and your own situation — taxes, immigration status, debt, family obligations — can change what is right for you. For advice specific to your circumstances, speak with a fiduciary advisor.